Speed comparison and deployment guide for local LLM inference frameworks

Writen by Henry Navarro
Introduction 🎯
In my previous articles we already covered an extensivecomparison between Ollama vs vLLM, today I want to bring to all of you another crucial comparison: Ollama vs llama cpp. Both frameworks have gained significant traction in the open-source community, particularly for their ability to run GGUF models efficiently on consumer hardware.
In this article, we’ll conduct a hands-on comparison using the Qwen3–14B across both frameworks. This analysis is based on actual deployments on one of my consumers GPUs: my RTX 4060 GPU.

What is Ollama? 🦙
For those familiar with my previous three-part series on Ollama vs vLLM, you already know the basics of Ollama.
Here’s something interesting: I initially thought Ollama and llamacpp were essentially the same framework or closely related projects. Actually, in a comment I received in this article from the user on medium Fabio Maggio I said they were the same, but I was completely wrong.
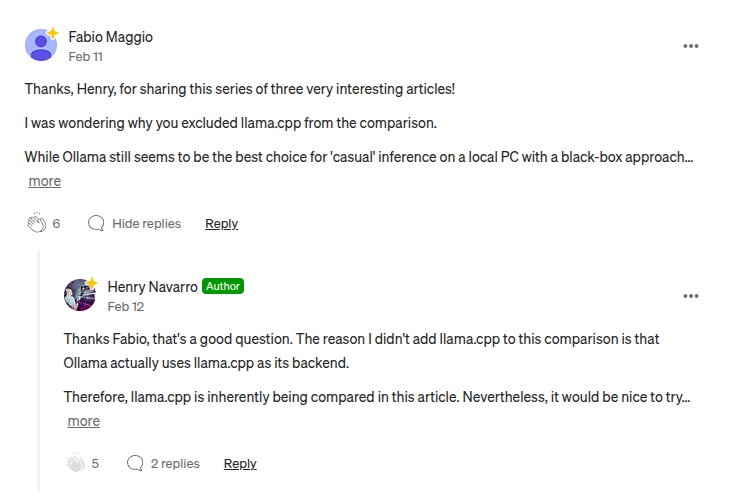
Ok, Ollama actually uses llama cpp under the hood as its inference engine, think of llama.cpp as the engine and Ollama as the car that makes the engine accessible to everyday users, but there are many differences.

While Ollama excels at simplicity and ease of use, the question remains: How does it perform against llama.cpp when it comes to production deployment, resource efficiency, and concurrent request handling?
What is llama.cpp? 🔧
Now that we’ve covered Ollama, let’s dive into llama cpp, the core inference engine that actually powers many of the frameworks we use today, including Ollama itself.
llama.cpp is a pure C++ implementation engine inference, designed for maximum performance and efficiency. Unlike Ollama’s user-friendly approach, llama.cpp is built for developers who want direct control over every aspect of model execution.
Setting Up the Test Environment 🔬
To ensure a fair comparison, I’ll deploy the exact same model, official Qwen 3–14B with GGUF quantization, on both frameworks using identical hardware and configurations.
Hardware Specifications 💻
- GPU: RTX 4060 (16GB VRAM)
- System: Linux-based server
- Model: Qwen3–14B (Q4_K_M quantization)
- Context Window: We’ll test different configurations to highlight each framework’s capabilities
Deploy models using Ollama 🦙
Step 1: First create a plain text file called Qwen3-14B-GGUF.
FROM hf.co/Qwen/Qwen3-14B-GGUF:Q4_K_M

# sets the context window size to 11288 for 16GB of VRAM GPUs
PARAMETER num_ctx 11288
Step 2: Create and run the model
- Run
ollama create Qwen3-14B-GGUF -f Qwen3-14B-GGUF, - Next, run
ollama run Qwen3-14B-GGUFand that’s it!
You can use your model and connect to any interface like my free PrivateGPT application.
llama.cpp Deployment ⚙️
llama.cpp requires a more hands-on approach, but gives us greater control:
Step 1: Download the model manually
pip install huggingface-hub
hf download Qwen/Qwen3-14B-GGUF --include="Qwen3-14B-Q4_K_M.gguf" --local-dir="models/Qwen/Qwen3-14B-GGUF"
Step 2: Run llama.cpp using docker 🐋
docker run -it \
  --gpus all \
  --network="host" \
  --ipc=host \
  -v ./models:/app/models \
  --entrypoint /bin/bash \
  ghcr.io/ggml-org/llama.cpp:full-cuda
Step 3: Run llama-server using the precompiled code inside docker 🐋 This is basically the same command provided by the developer in the official release:
./llama-server \
  -m models/Qwen/Qwen3-14B-GGUF/Qwen3-14B-Q4_K_M.gguf \
  -ngl 99 \
  -fa \
  -sm row \
  --temp 0.6 \
  --top-k 20 \
  --top-p 0.95 \
  --min-p 0 \
  --presence-penalty 1.5 \
  -c 40960 \
  -n 32768 \
  --no-context-shift \
  --port 11434 \
  --host 0.0.0.0 \
  --alias Qwen3-14B-llamacpp \
  -np 20
Notice the key difference: llama.cpp allows us to set a much larger context window (32,768 tokens) compared to Ollama’s 11,288 tokens on the same hardware.
The Testing Methodology 🧪
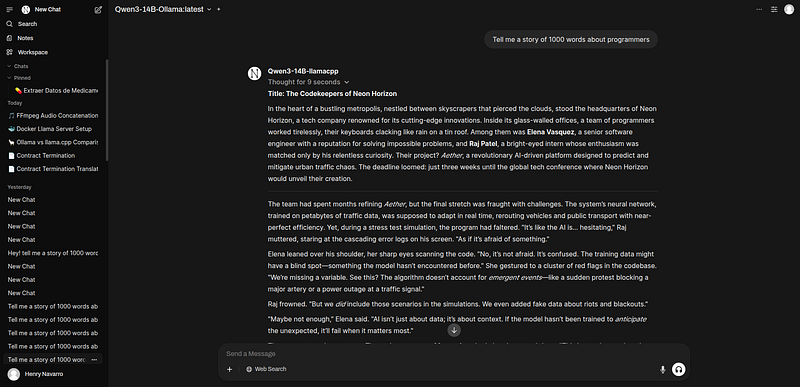
For this comparison, I’ll use my PrivateGPT interface, a production-ready chat interface I develop for enterprises.
First, let’s test basic inference performance with a simple prompt: Test Prompt: “Write a 1000-word story about programmers”
Ollama Results:
- Token Generation Speed: ~26 tokens/second
- Context Window: 11,288 tokens
- VRAM Usage: Efficient within limits
llama.cpp Results:
- Token Generation Speed: ~28 tokens/second
- Context Window: 32,000 tokens
- VRAM Usage: More efficient memory management
Initial winner: llama.cpp with slightly better speed and significantly larger context window.
Ollama’s Limitation Exposed 😱
When I open multiple PrivateGPT interfaces and send the same request simultaneously:
- Request 1 & 2: Process normally
- Request 3: Gets queued (stays in “pending” state)
- Request 4: Also queued
Why is this happening? Ollama’s default configuration only allows 2 parallel requests.

You might think “just increase the parallel request limit”, but here’s the catch: When I modify Ollama’s configuration to allow 5 parallel requests I get an absolute disaster
- VRAM Overflow: Model gets partially offloaded to CPU
- Performance Degradation: Speed drops from 26 tok/sec to ~8 tok/sec
- Mixed CPU/GPU Inference: Only 62% of the model runs on GPU, 38% on CPU
Check this with: ollama ps shows the model split between GPU and CPU – a clear sign of inefficient resource management.

llama cpp Superior Concurrency 🚀
Meanwhile, llama cpp handles multiple requests much more gracefully:
- Better VRAM Management: More efficient token caching
- Smarter Resource Allocation: Handles concurrent requests without degrading to CPU inference
- Maintained Performance: Tokens per second remain consistent across multiple requests
Production Reality Check 💼
This reveals a fundamental difference in design philosophy: Ollama:
- ✅ Perfect for single-user scenarios
- ✅ Excellent for development and testing
- ❌ Struggles with production-scale concurrent requests
- ❌ Inefficient VRAM management under load
llama.cpp:
- ✅ Built for production deployment
- ✅ Superior resource management
- ✅ Handles concurrency without performance degradation
- ❌ Requires more setup and configuration knowledge
Need Enterprise-Grade AI Deployment? 🏢
Throughout this comparison, I’ve been using my PrivateGPT interface to test both frameworks. If you’re wondering how to deploy these models professionally for your team or clients, that’s exactly what PrivateGPT by NeuralNet solves.
Unlike the manual setup we’ve shown here, PrivateGPT provides a production-ready interface that works with both Ollama and llama cpp backends, handling all the complexity behind a clean, ChatGPT-like interface that runs entirely on your infrastructure.
Starting at €990/year, this is perfect fit for any company. Book a free consultation to see it in action with your specific use case.
Conclusion 🏁
If you’re running models locally for personal use, Ollama’s simplicity is unbeatable. But if you’re planning to deploy in production with multiple users or applications hitting your API simultaneously, llama.cpp’s architecture advantages become crucial.
My personal recommendation? Start with Ollama for learning and prototyping, then migrate to llama.cpp when you need production-grade performance and scalability. And if you’re looking for an enterprise solution to deploy your LLMs, don’t forget that we offer PrivateGPT by NeuralNet. You can book a free consultation, and I’ll be happy to review your use case 😃.
If you liked this post, you can support me here ☕😃.
Keywords: Ollama vs llama.cpp, llama.cpp vs ollama, Ollama vs llama cpp, llama cpp vs ollama, llama cpp, llama.cpp, what is llama cpp, llama cpp tutorial, ollama llama cpp, ollama vs llama cpp speed, llama cpp speed, ollama vs llama cpp python, ollama vs llama cpp deepseek, ollama vs llama cpp on mac, what is ollama vs llama cpp, what is ollama and llama cpp, llama cpp server, llama cpp macos, llama cpp on windows, llama cpp on mac, use llama cpp, Ollama GGUF, llama cpp GGUF, Ollama inference, llama cpp API, Qwen3, GGUF models, local LLM deployment, GPU inference, concurrent requests, production LLM deployment.